Sliding Rails
Heavy Duty - Multipurpose Sliding Rails
Introducing the
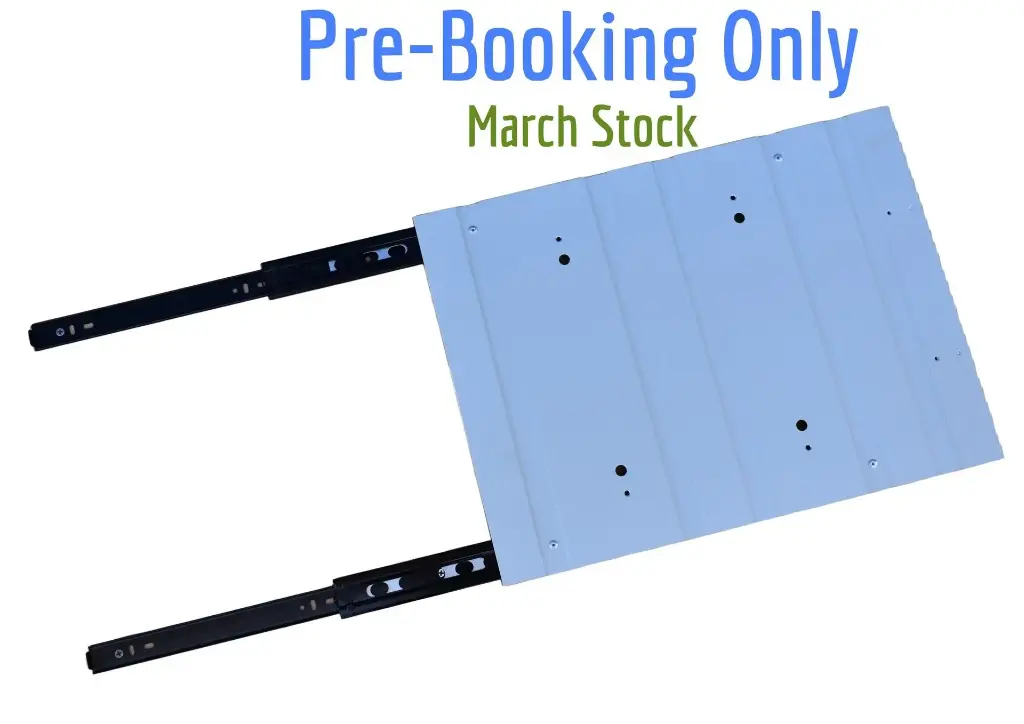
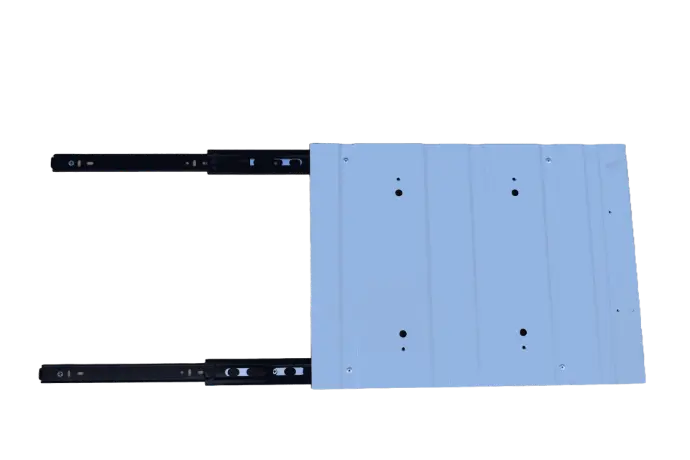
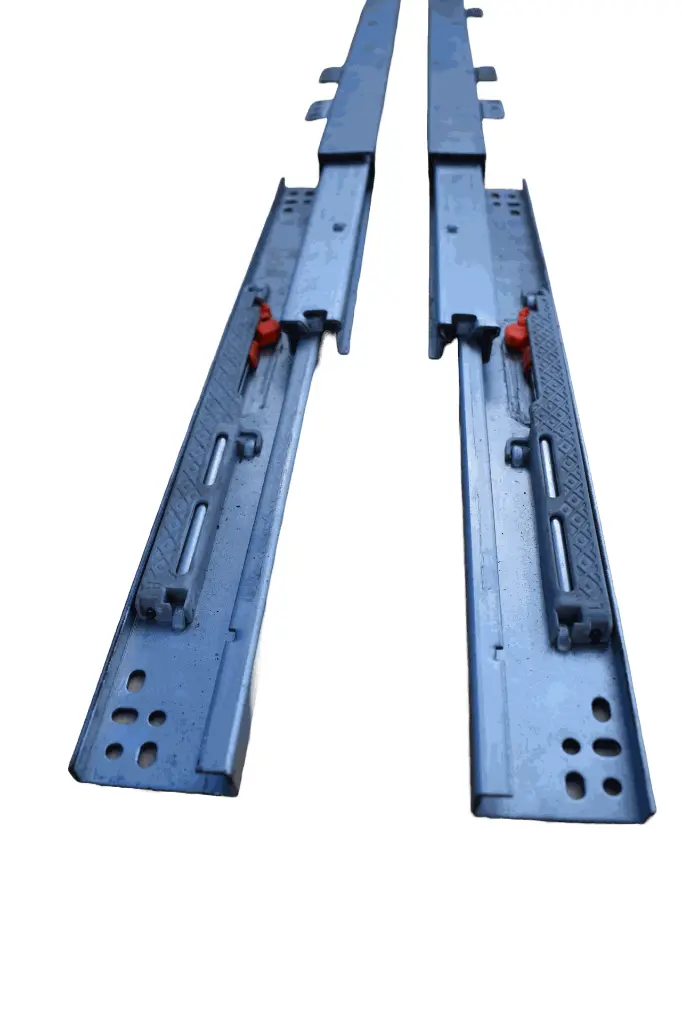
BlackMOA™ Multipurpose Slider Rails, designed for convenience and durability in various applications, from campervan installations to home storage solutions.
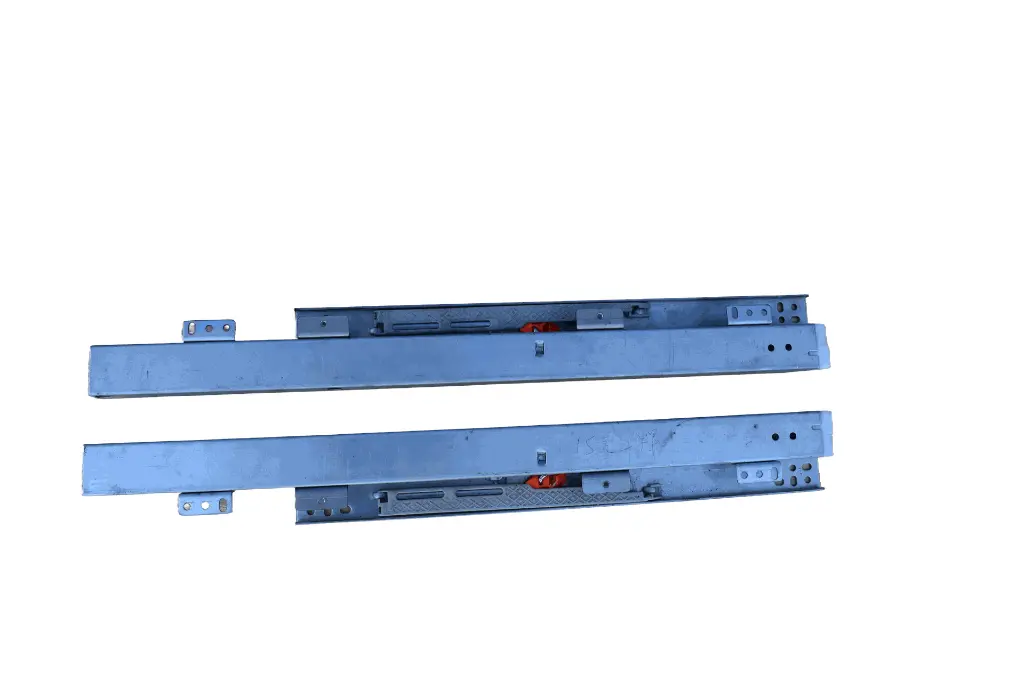
Made from high-quality aluminum, these slider rails offer a robust and lightweight solution for attaching beneath fixed toilets, fridges, and more, ensuring smooth operation and secure placement.
A compact yet sturdy Rails, with integrated slide-in lock that ensures stable positioning, providing added peace of mind during travel or everyday use.
Ideal for customizing your setup with ease and flexibility.
USE 'PAY BY INVOICE' METHOD ON CHECKOUT!
Limited Time 45% Discount.
Delivery 6-8 weeks.
| Brand: BlackM⬤A™ |
| Size: 45cm (L) x 5cm (W) x 2.5cm (H) |
| Material: Aluminium |
| Extra Feature: Slide-in Lock: Yes |
| Weight Limit: ~ 150kg |
"How to" Video on Heavy Duty Rail for BlackMOA™ - Fixed Toilet
BlackMOA™ on Rails Installation Guide
Tools Required:
- 4mm Screws (provided with the kit)
- Screwdriver
Components:
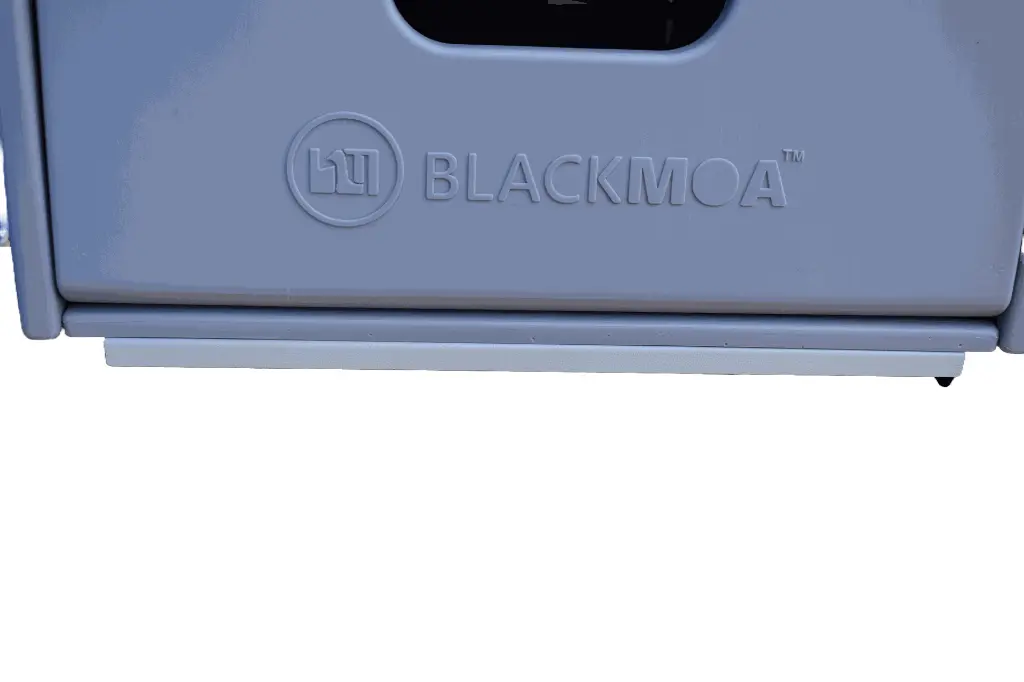
- Black Mova Cassette Toilet
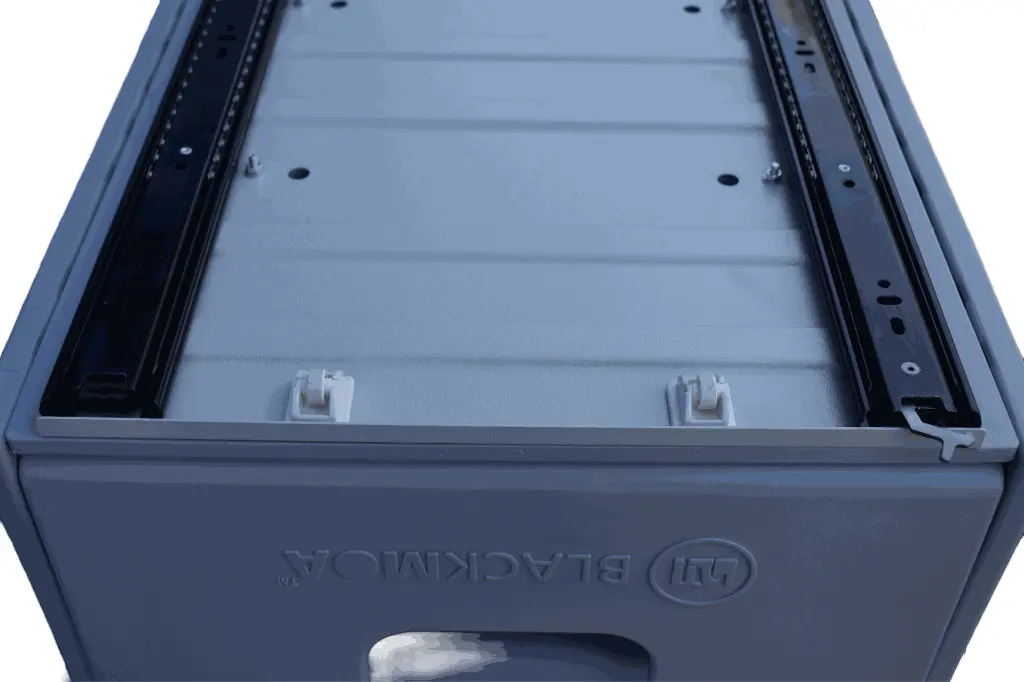
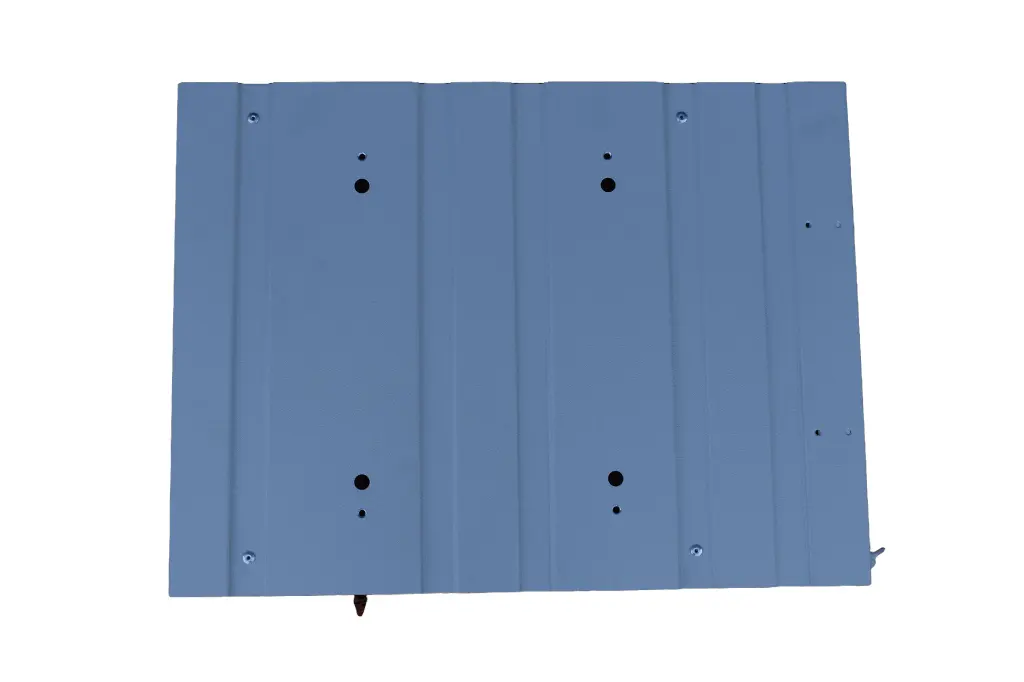
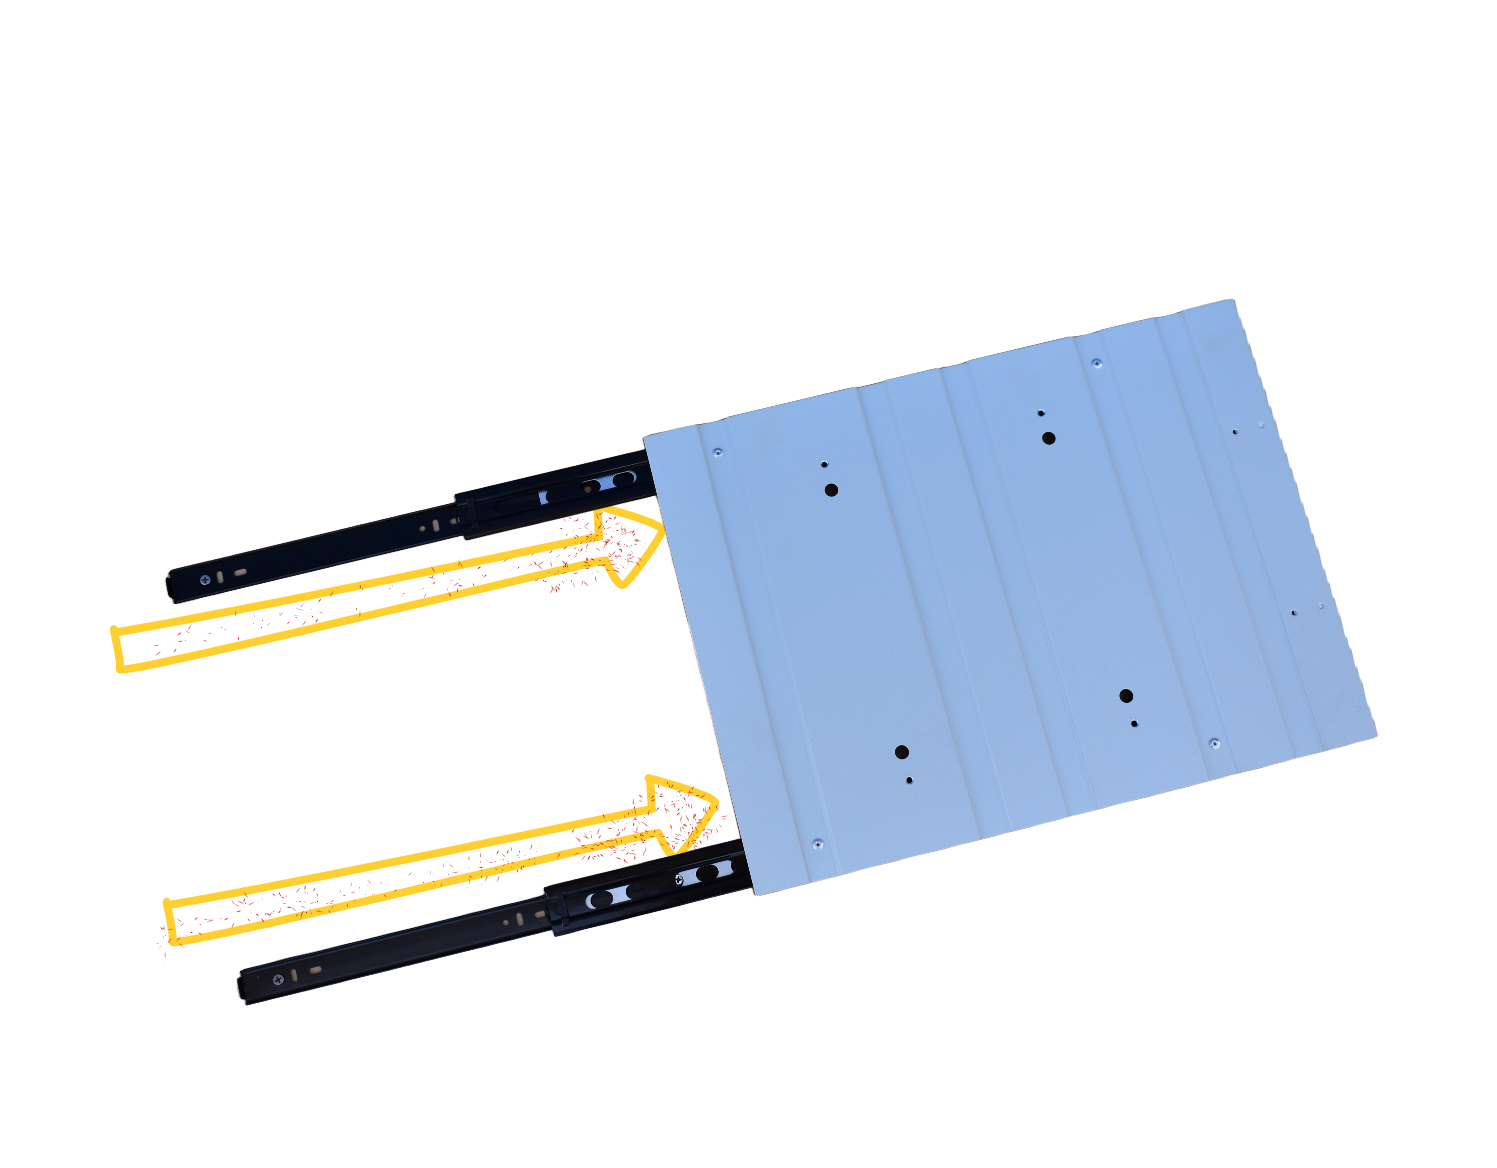
- Sliding Plate with Rails
- Small Screws for securing
Step 5: Verify the Lock Mechanism
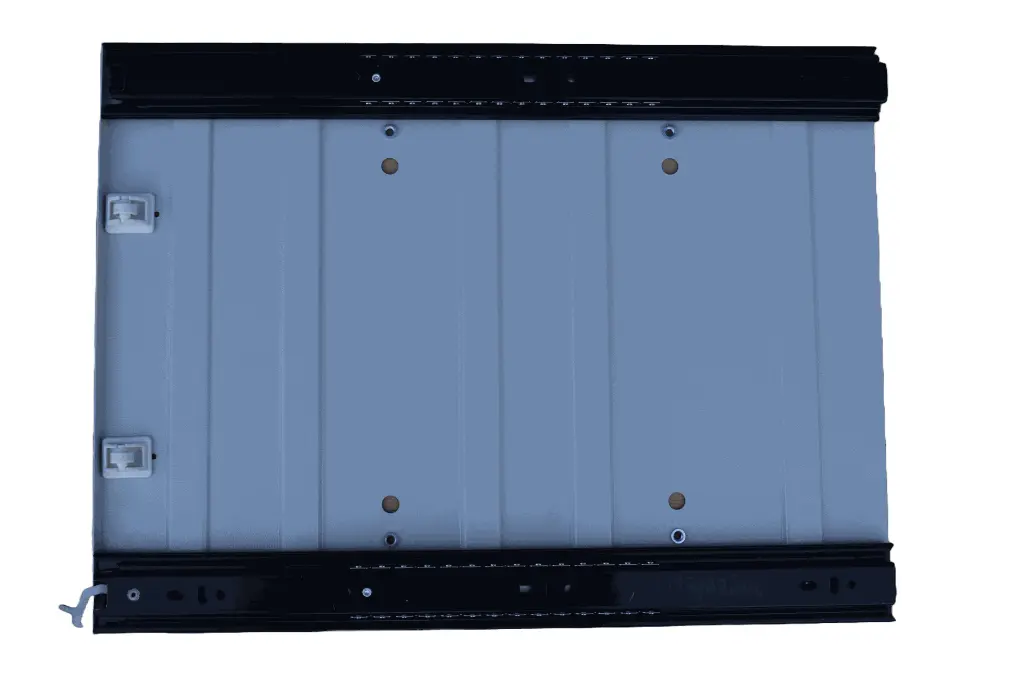
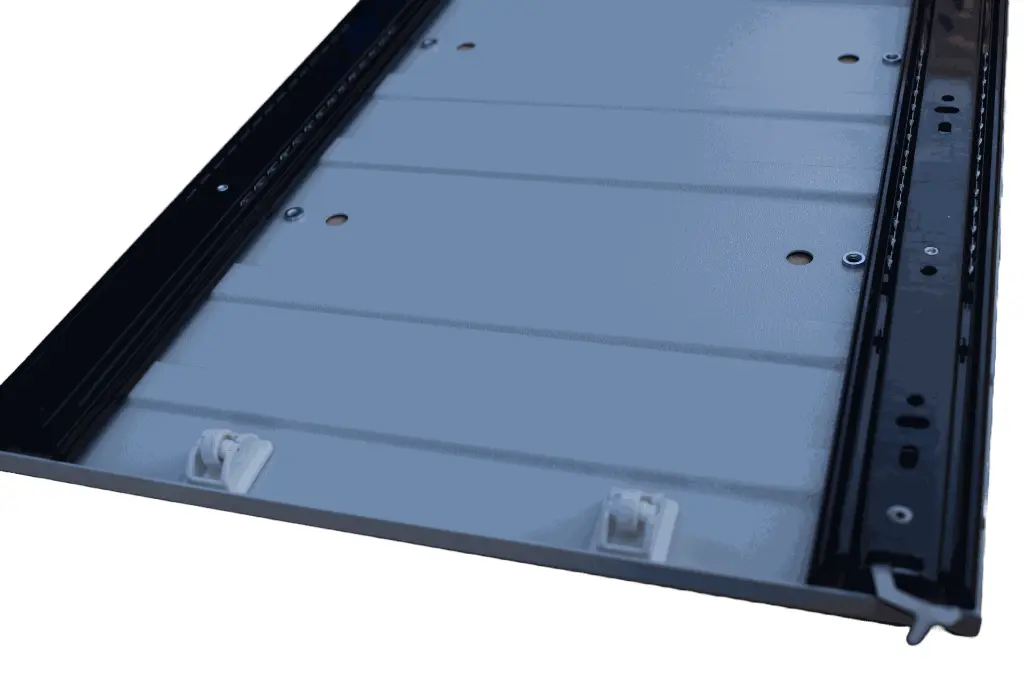
- Confirm that the locking mechanism on the Sliding Plate is engaging properly. There should be locks located on the side and the back of the plate.
Step 6: Finalize Installation
- Attach any remaining small screws to the rails at the designated points to ensure full security and stability.
- Test the slide mechanism by gently pushing and pulling to ensure the toilet moves smoothly along the rails.
- Confirm the toilet locks via built-in locking mechanisms.
Step 7: Completion
- Double-check all connections and locking points to ensure everything is secure.
- The toilet should now be securely mounted and ready for use.
Additional Tips:
- Regularly check the screws and locks for any looseness.
- Ensure that the slide mechanism remains clean and unobstructed for optimal performance.
Step 1: Prepare the Setup
- Ensure all parts are present: BlackMOA™ Cassette Toilet, Sliding Plate with pre-attached Rails, and Screws.
Step 2: Position the Toilet
- Carefully turn the BlackMOA™ Cassette Toilet upside down to expose the bottom plate.
Step 3: Align the Sliding Plate
- Take the Sliding Plate, ensuring the side with the wheels is facing towards where the door will be when the toilet is upright.
- Position the Sliding Plate under the toilet such that the holes on the plate align with those on the bottom of the toilet.
Step 4: Secure the Plate
- Insert the 4mm screws into the aligned holes.
- Use a screwdriver to secure the screws tightly.
- Ensure there are no loose parts and that the plate is sturdy. There should be four screws in total.
Your Dynamic Snippet will be displayed here...
This message is displayed because youy did not provide both a filter and a template to use.


